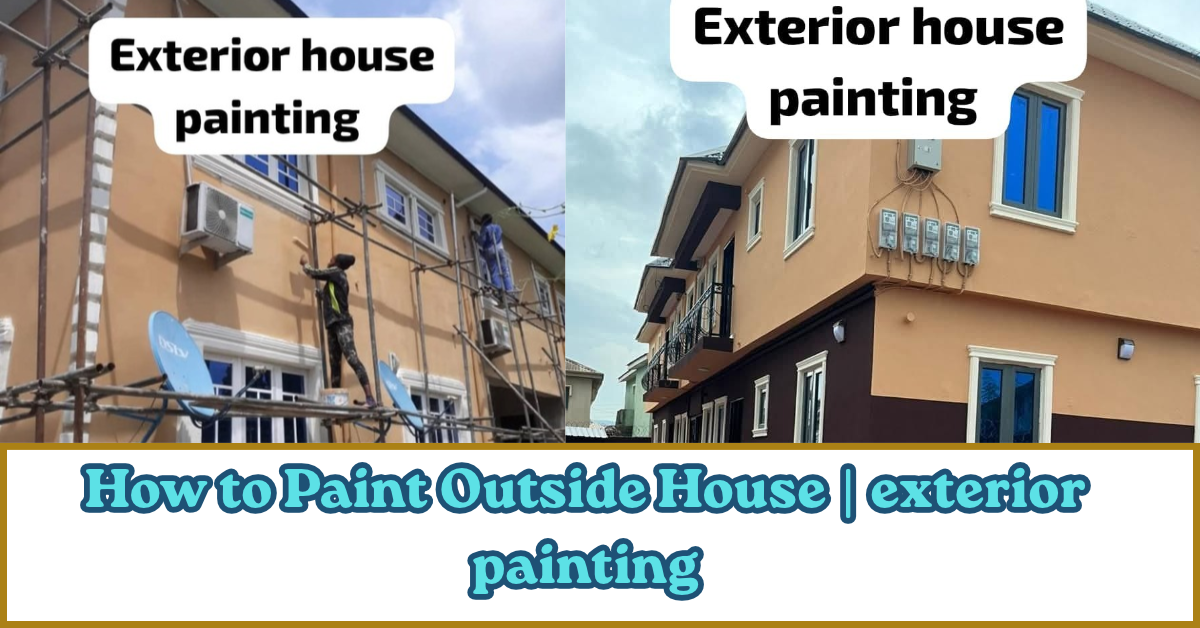
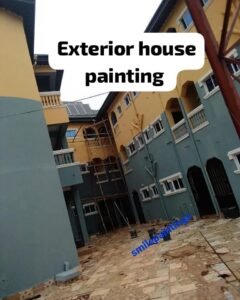
Painting the outside of a house requires proper wall preparation, suitable exterior paint and correct application. A good exterior painting job protects the building from rain, sunlight, dust and other weather conditions while it adds beauty and give your home a luxurious appearance.
However, applying paint directly to an unprepared wall can lead to peeling, stains, rough surface, uneven colour and early paint failure. The quality of the final result depends on what happens before the first coat of paint is applied. See: How to Prepare Walls Before Painting: Tips for a Perfect Finishing
This article explains how to paint the outside of a house in Nigeria, the materials required, how to prepare exterior walls, how to choose suitable paint and the correct application process.
What Is Exterior House Painting?
Exterior house painting is the process of applying protective paint or decorative paint to the outside surfaces of a building. These surfaces include external walls, pillars, parapets and other exposed masonry areas.
Unlike interior walls, exterior surfaces are exposed to direct sunlight, rainfall, humidity, dust and temperature changes. Therefore, exterior paint must be suitable for outdoor conditions.
In Nigeria, where buildings experience different levels of rainfall, heat and humidity, selecting the right paint and preparing the wall properly are important for achieving a durable finishing. See: Best Paint for Every Part of Your House in Nigeria
Materials Needed for Exterior House Painting
Before starting the work, gather the necessary materials and equipment. The exact quantity depends on the size and condition of the building. See our Paint Quantity Calculator to estimate your numbers.
Materials required include:
- Exterior emulsion, or Acrylic matt or decorative paint depending on your budget.
- Wall primer or sealer for wall preparation.
- Wall filler or suitable repair material for cracks and surface defects.
- Sandpaper for smoothing repaired areas.
- Clean water for cleaning tools and preparing products where specified.
- Masking tape and protective covering for windows, doors and floors.
- Paint brushes for corners and narrow areas.
- Paint rollers for large wall surfaces.
- Roller extension pole for high walls.
- Paint bucket or mixing container.
- Ladder or suitable access equipment.
- Scraper and wire brush for removing loose paint and dirt.
How to Choose the Best Paint for Outside Walls
The paint used on exterior walls must be designed for outdoor application. Interior paint should not be used as a substitute for exterior-grade paint.
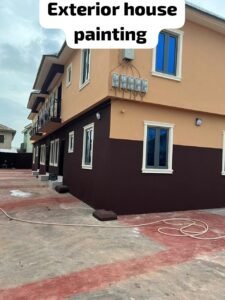
When buying exterior paint in Nigeria, consider the following factors.
1. Resistance to rainfall
Choose paint specified by its manufacturer for exterior masonry and exposure to rain. A suitable product should form a durable film after proper application and curing.
2. Resistance to sunlight
Exterior walls receive direct sunlight, especially on buildings with open surroundings. Select paint with suitable exterior weathering and colour-retention properties.
3. Adhesion to the wall
The paint should adhere properly to the prepared surface. Dust, loose particles, moisture and incompatible old coatings can prevent proper adhesion.
4. Washability and stain resistance
Some exterior paints are easier to clean than others. If the building is close to a busy road or an area with considerable dust, consider a product with suitable dirt resistance and washability.
5. Manufacturer’s coverage information
Check the product label for the stated coverage per litre. Coverage varies with the paint formulation, wall texture, surface porosity and application method. Rough or highly absorbent walls usually require more paint.
How to Prepare Exterior Walls Before Painting
Wall preparation is one of the most important stages of exterior house painting. Even good-quality paint may fail when applied over a dirty, damp or damaged surface.
Follow these steps before applying paint.
1. Inspect the Walls
Examine the entire building for cracks, peeling paint, damp patches, mould, powdery surfaces and other defects.
Pay attention to areas around windows, roof edges, balconies and external plumbing. These areas may develop water-related problems that need attention before painting.
Do not cover active water leakage or rising damp with paint. Identify and correct the source of moisture first.
2. Remove Loose Paint and Dirt
Use a scraper or wire brush to remove loose and peeling paint. Brush away dust, cobwebs and other loose particles.
Where necessary, wash the wall using a suitable cleaning method. Allow the surface to dry properly before proceeding.
Do not paint over loose coatings because the new paint may detach along with the old layer.
3. Repair Cracks and Surface Defects
Fill suitable cracks and holes with an exterior-grade filler or repair material recommended for the surface.
For larger cracks or recurring cracks, determine the cause before filling them. Structural movement and water penetration may require more than ordinary surface filling.
Allow the repair material to dry according to the manufacturer’s instructions. Sand the repaired areas where necessary to achieve an even surface.
4. Apply Primer or Sealer Where Required
Primer helps prepare certain surfaces for painting. It can improve adhesion and help control absorption, depending on the product and wall condition.
New cement-rendered walls, repaired areas and highly absorbent surfaces may require a suitable masonry primer or sealer.
Use a primer recommended for the selected topcoat. Follow the manufacturer’s instructions for dilution, coverage and drying time.
5. Confirm That the Wall Is Dry
Do not rush to paint a wet wall. Trapped moisture can contribute to blistering, peeling, discolouration and other coating problems.
Allow recently washed, repaired or rendered surfaces to dry properly. Follow the paint manufacturer’s requirements for surface moisture and curing time.
Process for Painting the Outside of a House
After preparing the wall and gathering the materials, you can begin the painting work.
Step 1: Protect Windows, Doors and Other Areas
Cover windows, doors, light fittings, tiles and other surfaces that should not receive paint.
Use masking tape around edges that require a neat finish. Protect the ground and nearby items from paint splashes.

Step 2: Mix the Paint Properly
Open the paint container and stir the paint until its contents are uniform.
If dilution is required, use only the recommended quantity and type of water or thinner stated by the manufacturer. Excessive dilution can reduce film thickness, coverage and performance.
Avoid mixing different paint products without confirming their compatibility.
Step 3: Paint the Edges and Corners
Use a suitable brush to paint around windows, doors, corners, pillars and other areas that a roller may not reach properly.
Work carefully to prevent paint from spreading onto surfaces that should remain unpainted.
Step 4: Apply the First Coat
Use a roller to apply paint to the larger wall areas. Work in manageable sections and maintain an even application.
Avoid applying an excessively thick coat to cover the wall quickly. Follow the recommended spreading rate and application instructions.
Step 5: Allow the First Coat to Dry
Allow the first coat to dry for the period specified by the manufacturer.
Do not apply another coat simply because the surface looks dry. The required recoat time depends on the paint type, weather conditions, humidity and temperature.
Step 6: Apply the Second Coat
After the first coat has dried sufficiently, apply the second coat evenly.
A second coat helps achieve consistent colour and coverage. Some surfaces or colours may require additional coats, depending on the product and the condition of the wall.
Step 7: Inspect the Finished Work
After the final coat has dried, inspect the walls in daylight.
Look for missed areas, roller marks, uneven colour, paint splashes and visible repairs. Correct defects where necessary using the recommended application procedure.
Remove masking tape carefully and clean the tools according to the paint manufacturer’s instructions. See: How Much Is Paint in Nigeria for Emulsion, Matt, and Satin?
Mistakes to Avoid When Painting Exterior Walls
Some painting problems occur because important preparation and application steps are skipped.
Painting over damp walls: Moisture can damage the coating and cause peeling or blistering.
Using interior paint outside: Interior paint may not have the weather resistance required for exposed walls.
Ignoring cracks: Painting over cracks does not correct the underlying defect.
Applying paint over dust: Dust reduces proper contact between the coating and the wall.
Adding too much water: Excessive dilution can affect coverage and the performance of the finished film.
Ignoring drying time: Applying another coat too early can affect the final result.
Painting during rainfall: Rain can wash away fresh paint or damage a coating that has not dried sufficiently. Check the weather and the manufacturer’s application guidance before starting.
FAQs
1. Can I paint the outside of a house without primer?
It depends on the wall condition and the paint product. Some exterior paints are designed for direct application to properly prepared surfaces, while other surfaces require a suitable primer. Follow the manufacturer’s instructions.
2. How many coats of paint should be applied to exterior walls?
Two coats are commonly used to achieve consistent coverage, but the required number depends on the paint, surface condition, colour change and manufacturer’s recommendation.
3. Can I use emulsion paint outside?
Only use an emulsion product if it is specifically formulated and labelled for exterior application. Not every emulsion paint is suitable for outdoor exposure.
4. What is the best time to paint the outside of a house in Nigeria?
Choose a period with suitable dry weather and avoid painting when rain is expected. The wall should be dry, and the temperature and humidity should fall within the product manufacturer’s recommended application conditions.
5. Why does exterior wall paint peel?
Peeling can result from dampness, poor surface preparation, loose old paint, incompatible coatings, excessive dilution or incorrect application. Identify the cause before repainting.
Conclusion
Painting the outside of a house requires more than choosing an attractive colour. The wall must be inspected, cleaned, repaired and allowed to dry before the correct exterior paint is applied.
Use paint designed for outdoor surfaces, follow the manufacturer’s application instructions and apply the recommended number of coats. Proper preparation and correct application help produce a neat finishing and reduce avoidable repainting costs. See more..

I am Godwin Zion With over 18 years of hands-on experience in construction finishing, I help organizations, entrepreneurs, vocational institutions, and development programs build practical skills that create jobs, improve quality, and support sustainable businesses.
My expertise combines technical knowledge with practical field experience in paint production, POP ceiling installation, wall preparation, decorative finishing, and construction finishing. I have trained aspiring entrepreneurs, skilled artisans, and business owners to produce high-quality paints, deliver professional finishing services, and build profitable businesses.
I believe practical skills create economic opportunities. My mission is to equip individuals and organizations with the knowledge, systems, and confidence to succeed in the construction finishing industry across Africa.