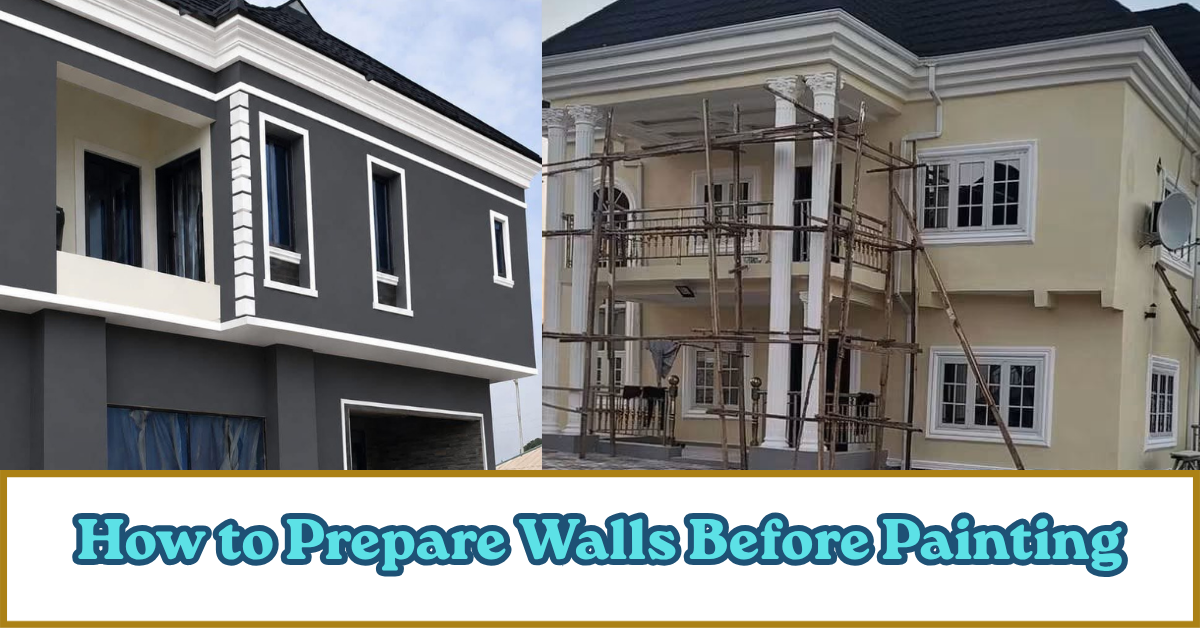
A beautiful paint finishing starts long before the first coat of paint is applied. One of the biggest mistakes homeowners make is focusing on buying quality paint while ignoring the condition of the walls to be painted. Even the most expensive paint cannot hide poorly prepared walls.
If you are painting a newly built house, renovating an old property, or repainting a single room, proper wall preparation is the key to achieving smooth, sparkling, durable, and professional finishing.
Preparing walls before painting helps improve paint adhesion, reduces paint consumption, prevents peeling, it also creates a beautiful finishing that lasts for many years. Skipping important preparation steps may save time initially, but it often leads to rough appearance, visible imperfections, cracking, and costly repainting. see:Is Screeding Necessary Before Painting Walls? Everything You Need to Know
In this article, you will learn how to prepare walls before painting, the tools and materials you need, the correct order of preparation, common mistakes to avoid, and tips for a perfect finishing.
Why Wall Preparation Is Important Before Painting
Wall preparation is one of the most important stages of any painting project.
Paint performs best when applied to a clean, dry, smooth, and stable surface. If the wall contains dust, grease, loose particles, moisture, or cracks, the paint may not bond properly.
Proper preparation also give beautiful appearance to the wall and make it ready for painting. Smooth walls reflect light brightly, making colours appear richer and more consistent. Also see:Best Paint for Interior Walls After Screeding in Nigeria
Another important benefit is improved durability. Paint applied to properly prepared walls is less likely to peel, blister, or fade prematurely.
Wall preparation can also reduce the amount of paint required because smooth surfaces preparetion absorb less paint than rough or damaged walls. Also Read: Wall Plastering vs Wall Screeding: What is the Difference?
Tools and Materials You Need
Before starting, gather all the necessary tools and materials.
The exact items required depend on the condition of the wall, but most painting projects require sandpaper, a putty knife or screeding pan, wall filler, a wire brush, broom, clean cloths, buckets of clean water, masking tape, a paint scraper, and personal protective equipment such as safety glasses and a dust mask.
For newly constructed buildings, additional materials such as POP cement and paint, wall putty, or cement based finishing materials may also be required before painting. See: Wall Screeding Materials in Nigeria: Complete List and Prices
Having everything ready before you begin helps the project progress smoothly and reduces unnecessary interruptions.
Step 1: Inspect the Walls Carefully
The first step is to examine every wall thoroughly.
Look for cracks, nail holes, dents, peeling paint, moisture stains, mould, loose plastering, or any other surface defects.
Small imperfections that seem insignificant before painting often become much more noticeable after paint has been applied.
Pay close attention to corners, window edges, electrical outlets, and areas around doors and make sure to use masking tape to tape this areas.
If the wall has previously been painted, check whether the existing paint is firmly bonded or beginning to peel.
A careful inspection allows you to identify problems early and determine the repairs needed before painting begins. Also Read: How Much Does Wall Screeding Cost in Nigeria?
Step 2: Clean the Wall Surface
Clean walls provide the best surface for paint adhesion.
Dust, grease, cobwebs, smoke residue, and other contaminants prevent paint from bonding properly.
Make sure you per attention and cleean this areas properly before you paint.
Never apply paint to damp walls because trapped moisture may cause blistering, peeling, or mould growth.
Step 3: Repair Cracks, Holes, and Surface Damage
After cleaning, repair all visible defects.
Hairline cracks should be opened slightly before filling so the repair material bonds properly.
Larger cracks may require additional reinforcement depending on their size and cause.
Nail holes, dents, chipped plaster, and damaged areas should be filled with suitable wall filler or wall putty or POP cement and paint. See: How Much Paint Do I Need for a 3 Bedroom Flat in Nigeria
Once the repair material has dried completely, sand the repaired sections until they blend smoothly with the surrounding wall.
Taking time to repair defects properly produces a much more attractive paint finishing.
Step 4: Sand the Walls Properly
Sanding removes rough spots and creates a uniform surface for painting.
Even newly plastered or screeded walls usually benefit from light sanding before painting.
Use suitable sandpaper and work evenly across the surface without applying excessive pressure.
Pay particular attention to repaired areas because rough sanding may create visible patches after painting.
The goal is not to remove large amounts of material but to produce a smooth, consistent surface.
Proper sanding also improves paint adhesion and helps the finishing paint spread more evenly. Also see: How to Calculate Paint Quantity for House
Step 5: Remove Dust After Sanding
Many people underestimate the importance of cleaning after sanding.
Fine dust left on the wall prevents paint from bonding correctly.
After sanding, remove all dust using a clean brush, soft cloth, or broom, or vacuum where available.
Inspect the wall again under good lighting to ensure no dusty areas remain.
Only proceed to the next step when the surface is completely clean and dry. Also read: How Much Is Interior Paint in Nigeria
Step 6: Apply Wall Screeding If Necessary
Not every wall requires screeding, but many newly plastered walls benefit from this additional finishing step.
Wall screeding removes minor and rough imperfections, fills small holes, and creates the smooth surface expected in modern homes.
If the plastered wall already has an excellent finishing, only minor repairs may be required before painting.
However, if the wall contains visible trowel marks, rough textures, or shallow depressions, screeding is highly recommended. See: How Much Does Wall Screeding Cost in Nigeria?
After screeding, allow sufficient drying time before sanding lightly to achieve an even smoother finishing.
A properly screeded wall improves paint coverage, reduces paint consumption, and creates a professional appearance that lasts for years.
Step 7: Allow the Wall to Dry Completely
Patience is important during wall preparation.
If you have repaired cracks, or applied screeding, each stage must dry completely before moving to the next.
Painting over damp walls can trap moisture beneath the paint film. Over time, this may cause blistering, peeling, discolouration, mould growth, and reduced paint life.
Drying time depends on several factors, including the type of material used, wall thickness, humidity, ventilation, and weather conditions.
Good airflow helps walls dry more evenly. Opening windows and ensuring proper ventilation can speed up the drying process without affecting the quality of the finish.
Step 8: Carry Out a Final Wall Inspection
Before opening your paint, inspect every wall one final time.
Run your hand gently across the surface to feel for rough spots that may have been missed during sanding.
Look closely for small cracks, pinholes, sanding marks, or areas where dust may still be present.
Shining a bright light across the wall can reveal imperfections that are difficult to see under normal lighting.
Correcting these minor issues before painting is much easier than repairing them after the paint has dried. See: Labour Cost for Painting Work in Nigeria
A careful final inspection is one of the habits that separates professional painters from inexperienced ones.
Common Wall Preparation Mistakes and Tips for a Perfect Paint Finishing
One of the most common mistakes is painting dirty walls. Dust, grease, and loose particles reduce paint adhesion and shorten the life of the finish.
Another mistake is ignoring small cracks and holes. Although they may seem insignificant, paint often makes these imperfections more noticeable.
Some homeowners rush the drying process. Painting before repair materials, or screeding have dried properly can lead to peeling, discolouring and blistering later.
Poor sanding is another frequent problem. rough sanding leaves visible marks that become obvious after painting, especially when light reflects across the wall.
Using low quality preparation materials can also affect the final result. Even the best paint cannot compensate for poor wall preparation.
Finally, many people underestimate the importance of proper planning. Taking time to prepare the wall correctly usually produces a better finish than applying additional coats of paint later.
FAQs
1. How do you prepare walls before painting?
Start by inspecting the wall for damage. Clean the surface thoroughly, repair cracks and holes, sand the wall until smooth, remove all dust, apply screeding if necessary, allow everything to dry completely, and carry out a final inspection before painting.
2. Should I wash walls before painting?
Yes. Cleaning removes dust, grease, cobwebs, and other contaminants that can prevent paint from bonding properly.
3. Do newly plastered walls need screeding?
Yes. it depends on your budget, what you want to use buiding for, but it is not every plastered place that needs screeding. Many newly plastered walls benefit from screeding because it removes rough and minor imperfections and creates a smoother surface for painting.
4. Can I paint without primer?
Although it is possible in some situations, using primer is not necessary except you want to apply decorative painting like travatino, stucco, etc. Primer improves paint adhesion, reduces paint absorption, and helps achieve a more even finishing.
5. How long should walls dry before painting?
The drying period depends on the material used, weather conditions, humidity, and ventilation. Walls should always be completely dry before primer or paint is applied.
6. What grit sandpaper is best for wall preparation?
Medium grit sandpaper is commonly used to smooth repaired areas and prepare walls before primer. The exact grit depends on the condition of the wall and the material being sanded.
7. Why does paint peel after painting?
Peeling usually occurs because the wall was not prepared properly. Common causes include moisture, dust, grease, poor surface cleaning, and applying paint before the wall had dried completely.
Do you want to Learn How to Produce High Quality Paint
Preparing walls correctly is only one part of achieving outstanding painting results. The quality of the paint itself also plays a major role.
At Paint Production Academy, we provide practical training that teaches you how to produce high quality emulsion, acrylic matte, and satin using proven production methods.
The training is suitable for beginners, Homeowners, painters, contractors, entrepreneurs, and anyone interested in building a profitable paint manufacturing business. start here..
Conclusion
Learning how to prepare walls before painting is one of the best investments you can make in any painting project.
Proper preparation creates smooth walls, improves paint adhesion, reduces paint consumption, and increases the lifespan of the finished paintwork.
Although preparing walls takes time, it prevents many of the common problems that occur after painting, including peeling, blistering, uneven colour, and poor durability.
By following the correct steps, inspecting the wall carefully, repairing defects, sanding thoroughly, applying primer, and allowing adequate drying time, you create the ideal foundation for a beautiful and long lasting paint finishing.

Godwin Zion is the founder of Paint Production Academy and a professional paint production trainer with over 18 years of practical experience in paint production, POP ceiling installation, construction finishing, and interior project execution. He teaches practical emulsion, acrylic Matte, and satin paint production using simplified step-by-step methods designed for homeowners, painters, engineers, property developers, artisans, and entrepreneurs. Through Paint Production Academy, he has helped students across Nigeria, Ghana, Cameroon and other part of the world learn valuable paint production skills that can reduce construction costs and create profitable opportunities.